This post describes the update procedure for an ownCloud instance running on an OpenWRT installation. Note that you have to update your owncloud installation in rather small steps. You normally cannot skip any minor versions (i.e. jumping from version 8.0.8 to version 8.2.1.
[alert type=”info” icon-size=”normal”]The procedure described below has also been tested for updates from 8.1.7 to 8.1.9 and from 8.1.9 to 8.2.7.[/alert]
PHP5 Filter Support now required
At some point from version 8.0 to 8.1 ownCloud added the prerequisite that PHP5 filter support must activated in your PHP installation (you can activate this feature in the menuconfig under Langugages/PHP).
Steps for updating
Download the subsequent minor stable version (in my case 8.1.7) from the ownCloud website (tar.bz2 package recommended) and scp it to the /www directory of the router
On the router, rename your current owncloud directory to oldcloud:
|
1 |
root@wdr4900:/www# mv owncloud oldcloud |
Then untar the tar.bz2 package you just downloaded (it will re-create an owncloud directorey and put everything into that directory):
|
1 |
root@wdr4900:/www# tar jxf owncloud-8.1.7.tar.bz2 |
Now copy both the data directory and the config.php file from the oldcloud directory to the new owncloud directory:
|
1 2 |
root@wdr4900:/www# cp -R oldcloud/data owncloud/ root@wdr4900:/www# cp oldcloud/config/config.php owncloud/config/ |
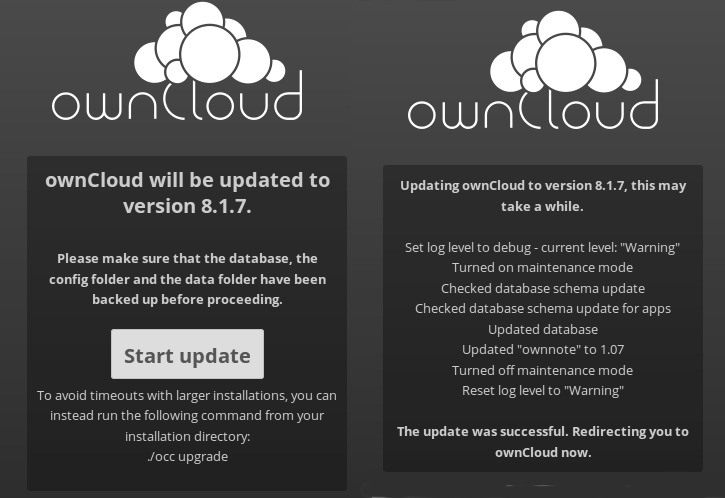
Reboot the router and open your ownCloud homepage with a browser. It should detect that there is an updated ownCloud package and ask you to start the installation. Click to start the installation. You will get a message that a couple of applications have been deactivated during the upgrade and that manual reinstallation is required.

Restoring the apps
At the end of the successfull installation, ownCloud tells you that third party apps have been disabled. This will normally concern the follwing apps:
Download the zip /tar.gz files which match your ownCloud version, scp these files to /www/owncloud/apps and extract them. Clean up the archive files afterwards.
Log in as administrator into your ownCloud web, go to the add apps section and select the “Not enabled” category. The apps you just extracted should show up as “Experimental”. Enable them one by one – i.e. you click enable for the first app, wait a bit, log out and then log in again. (You will probably seen a message at the log in page that ownCloud needs another update). Proceed like that for all 4 applications.
Check Security & Setup Warnings
Check for warnings on the admin home page. On OpenWRT systems, two warnings are particularly common:
- No memory cache has been configured. To enhance your performance please configure a memcache if available. Further information can be found in our documentation.
- The “Strict-Transport-Security” HTTP header is not configured to least “15768000” seconds. For enhanced security we recommend enabling HSTS as described in our security tips.
As per the second warning, we can safely ignore it. HSTS strictly enforces HTTPS for all connections. While this may be desirable, we have a dual setup: anything which is not going to connect through https will be directed to the public web site. Therefore HTTPS is already strictly enforced on our server.
Those who still want to enable HTTS on their server, should edit their webserver’s config file according to the instructions here.
As per the memory cache recommandation, one could try to aditionally install memcached which is available in menuconfig’s general Network section. Worth a try for the next release.